Photo Credit: http://www.stephencooks.com
Every once in a while, I crave a good piece of steak. While I love heading over to Mastro’s or Gibsons for a delicious filet mignon, it is SUPER expensive and honestly, I think I make a pretty killer steak all on my own.
Making steak at home is not only much less expensive, it’s super simple. Today’s post is going to be about how to cook a filet, but you can use the same cooking method for many other types of steak including like ribeye or a short loin steak (like NY strip). They may just need to be in the oven a little longer depending on the size!
What You’ll Need
An oven-proof skillet (or a baking sheet if you don’t have one)
2 teaspoon of olive oil
Salt
Pepper
A piece of steak
What You’ll Do
1) Pre-heat your oven to 450 degrees. If you don’t have an oven proof skillet, keep a baking sheet in the oven while it’s pre-heating.
2) Take the steak out of the refrigerator about a half hour before you want to cook it. Pat it down to remove all the moisture and generously coat with salt and pepper.
The reason we bring a steak to room temperature before cooking it is because if we don’t, it will bring the temperature of the pan down. The key to making a perfect steak is cooking it at a super high temperature for a short amount of time. The longer a steak is cooking, the tougher it will get (and thus a cold steak will be cooking longer and result in a tougher outcome).
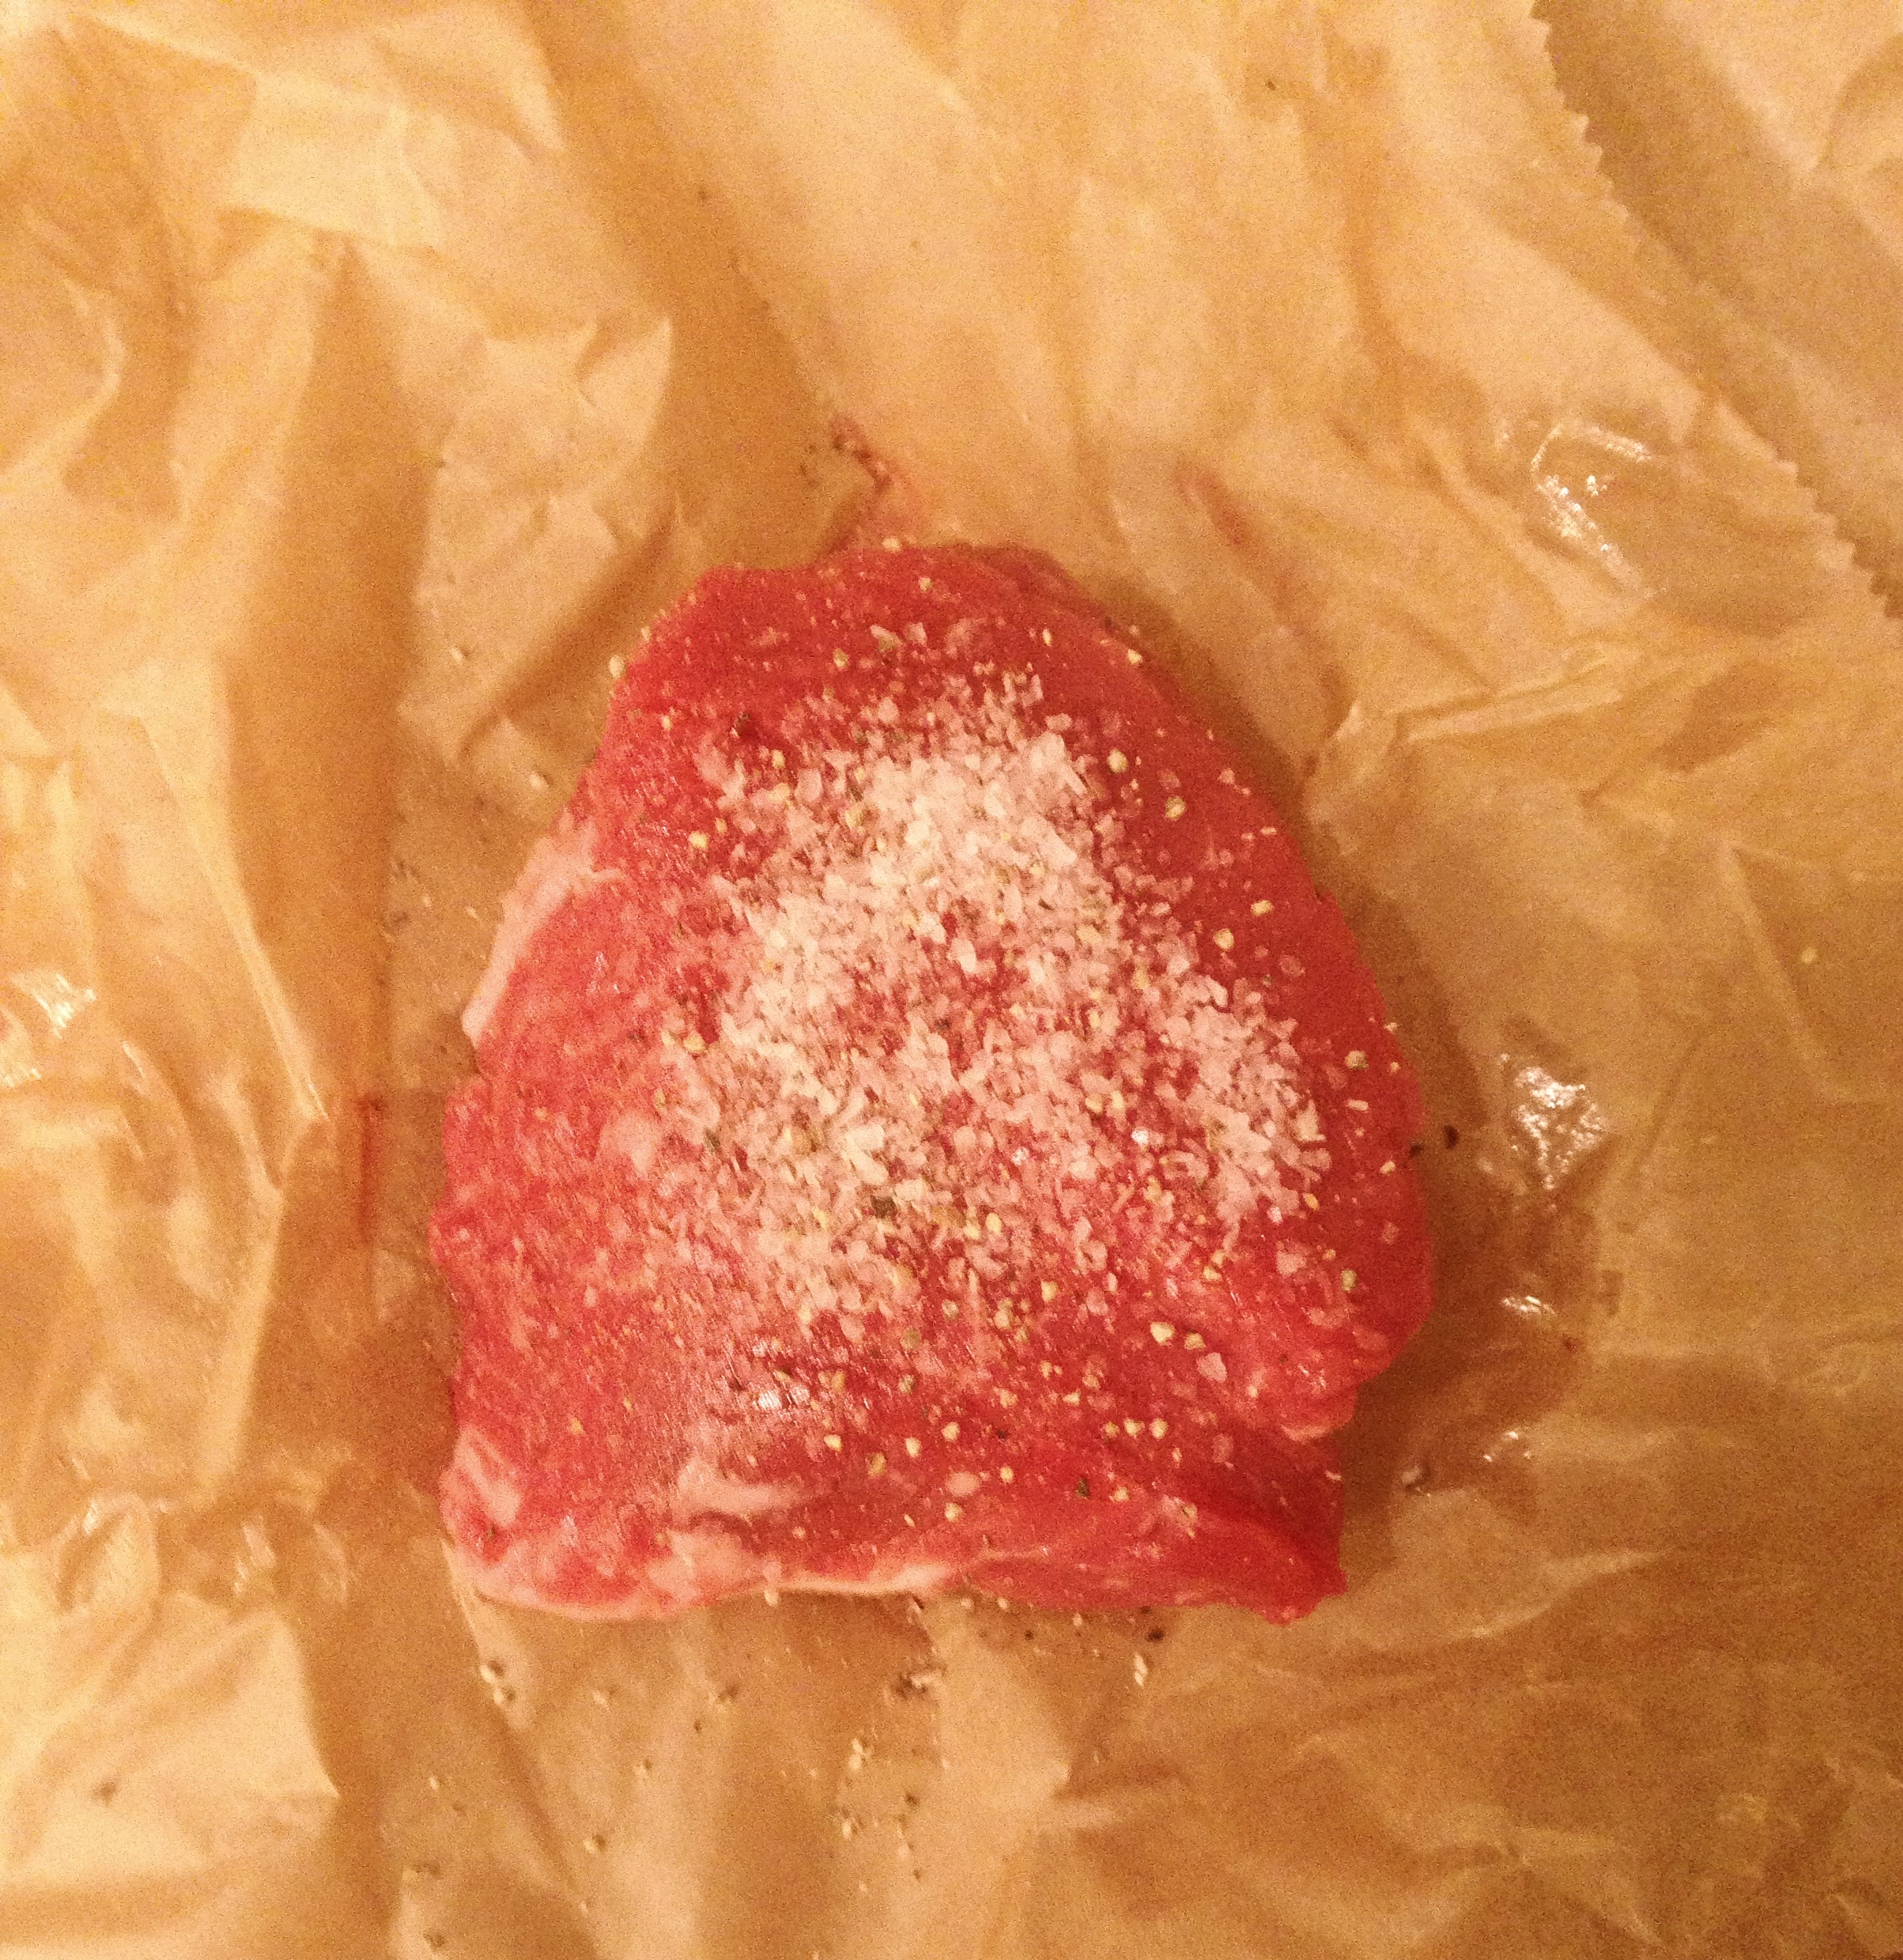
Steak Coming to Room Temperature
2) Heat up your skillet with a small drizzle of olive oil (about couple of teaspoons). When the oil gets really hot (it may start smoking a bit), place your steak in the skillet. Turn your fans on, because this will be smokey!

Steak Searing in the Pan
3) Let the steak caramelize in the pan for 3-5 minutes (depending on size of steak). Do NOT touch it or it won’t get a good sear. Once it’s ready, you should be able to flip it without it sticking to the pan. If there is even the tiniest bit of resistance, it’s not ready to be flipped.

A Nice Sear on My Steak
4) Let the steak cook on the other side for another couple of minutes. Once you get a good sear on that part, it’s important to make sure you sear the sides of steak. I usually just use some tongs and hold the steak on the skillet for about 30 seconds-1 minute on each side. Just be CAREFUL you don’t burn yourself.

Searing the Sides of the Steak
5) Once your steak has a nice sear on all sides, take the entire pan and put it in the oven (or take the steak off and put it on the super hot baking sheet). The length of time depends on the cut/thickness of the steak.
I can usually tell how done the steak is by pushing my finger on the top of the steak (the harder it is, the more well-done it is), but if you want an exact science, here are the temperatures (you will need a meat thermometer):
Rare: 125-130 degrees (this will be very red throughout)
Medium Rare: 130-135 degrees (this will pretty read in the center and pink on the outside)
Medium: 140-145 degrees (pink throughout)
Medium Well: 155-160 degrees (pink in the middle and darker on the outside)
Well done: Just don’t do this…please.
To give you some guidance, I like my steak cooked to medium and 6 minutes is usually perfect for a small/medium filet.
So that’s it! The next time you’re craving steak (but don’t want to shell out $40), try making it yourself! I promise you won’t be disappointed.
Love always,
Erica