Buffalo Chicken Eggrolls

Photo Credit: Pirate Palate

Photo Credit: Pirate Palate

Not only am I’m obsessed with making my own take-out, I love making fun and interesting twists on some of my favorite dishes. One of my most exciting twists is on the classic takeout dish, eggrolls. Did you know you they are super simple to make and you can easily play around with the recipe to come up with all different kinds?

My two favorites kinds of eggrolls are buffalo chicken and a simple asian vegetarian. Today I’m going to talk about the buffalo chicken since I think if ANYTHING is going to motivate you to make your own take-out at home, it’s these delicious, crispy rolls. 

What You’ll Need
1 1/2 lb boneless skinless chicken breast
1/2 package egg-roll wrappers (give or take)
2/3 cup of Franks Red Hot Buffalo Sauce
3/4 cup crumbled blue cheese (I like gorgonzola dolce)
Peanut oil or Vegetable oil for deep frying (if you want to fry it)

What You’ll do
1) Boil the chicken until cooked through and then shred the chicken with a fork

shredded chicken

Shredded Chicken

2) Combine chicken with buffalo sauce and blue cheese

Combine chicken with hot sauce and blue cheese

Combine chicken with hot sauce and blue cheese

3) Place 1 tablespoon of the filling in the center of the wrapper. Wrap the eggroll! If you want a good tutorial, check this out.

Place Mixture in Center of Wrapper PC: Cookin'Cowgirl.blogspot.com

Place Mixture in Center of Wrapper
PC: Cookin’Cowgirl.blogspot.com


4) Cook the eggroll! You have two options here: You can either bake the eggroll’s at 400 degrees for about 15 minutes (the healthier version) or you can deep fry them in  a deep pot or dutch oven in 350 degree oil. Only cook a few at a time and be careful! You will know they are done when they are golden on the outside (since they are already cooked on the inside).

Cook the Eggrolls

Cook the Eggrolls

Let these babies drain on a paper towel (and cool down a bit) and then serve them up with ranch or blue cheese dressing!

Love always,
Erica

Erica’s Mind Blowing Caesar Dressing


I never thought the time would come that I would share my caesar salad recipe, but I feel like there is not better time.

Last night I hit (and then exceeded) 1,000 Facebook fans. I’m just so overwhelmed with how supportive you’ve all been. Having a blog has always been a dream of mine and you’ve helped make this dream come true with your support, engagement and words of love towards me.

This dressing recipe is my thank you to you all. It is honestly the best caesar dressing you will ever try (I’m confident enough in it to say that). Every single person who tries it tells me they’ve never had a better dressing in their entire life. I won’t lie, it has a weird mix of ingredients, but put together it’s absolutely delicious.

What You’ll Need
1 cup mayo
1 egg
1/3 cup parmesan cheese
1 1/2 tablespoons lemon juice
2 tablespoons water
2 tablespoons olive oil
1/2 tablespoon anchovy paste (you need it, PLEASE don’t skip it)
1 large garlic clove (or two small) (minced)
2 teaspoons sugar
Salt and Pepper to taste

What You’ll Do

1) Whisk all the ingredients in a big bowl for a minute or two (until combined)
2) Refrigerate for at least an hour before serving.

This recipe yields a ton! It stores well in the fridge, covered for about 3 days.

Serve it over romaine lettuce with some shaved parmesan cheese and homemade croutons and you’ll be one happy person. Oh, and feel free to tell people it’s your secret recipe. I don’t mind at all :).

Love always,
Erica

Restaurant Review: Public House

Ladies, I think I may have found the key to a happy relationship. I have two words for you, Public House. Let me explain.

Frankly, I’m not a huge sports fan. Even when I’m trying to be the cute, supportive girlfriend, you can totally tell I’m not at my happiest whenever I’m hanging out at a sports bar watching 300 lb. men run into each other at full speed all in pursuit of a leather coated ball. This coupled with the greasy fried food (that was frozen first) and drunk guys screaming (for what seems like no reason) just doesn’t do it for me.

That’s why I am so excited to tell you all about Public House in Chicago’s River North neighborhood. This gastro pub turned sports bar is fully equipped with 27 flat screen TVs and table-side beer taps (more on that later). Simply put, it’s a guys dream, but it’s an upscale environment with good (and not greasy food) that us girls can totally get behind. The restaurant is owned by Dine|Amic (the same people who brought Chicago the incredible Siena Tavern), so that alone should speak for itself.

I realize I’m being somewhat gender specific and many girls love sports (and many guys don’t), but I know a lot of you can relate!

I went over there for brunch this weekend and I couldn’t be more excited about my experience. Since the menu is huge, I figured I’d help you navigate it and give you 3 things to order when you go:

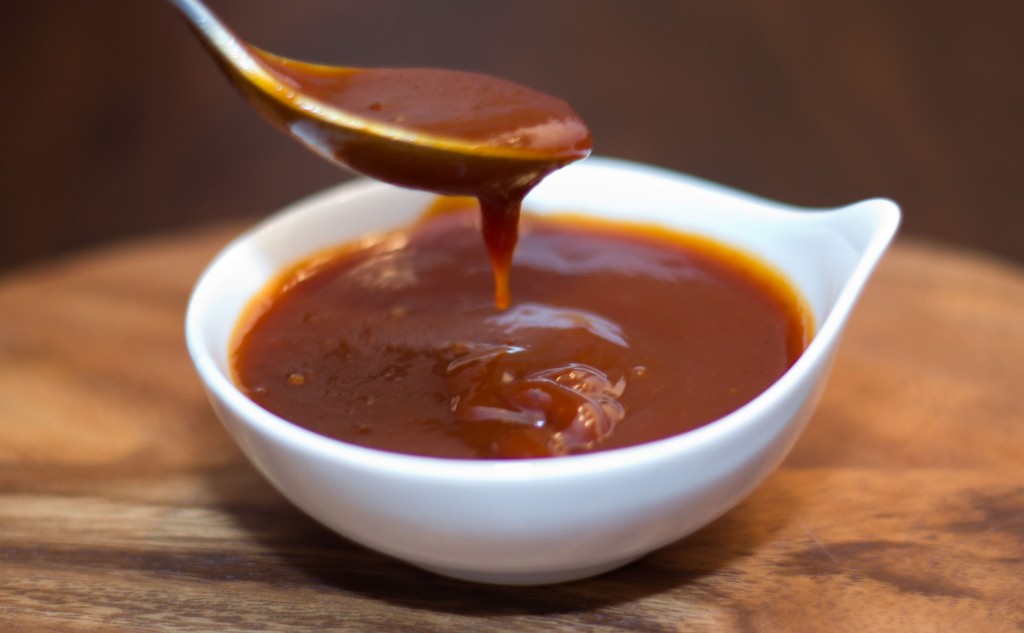
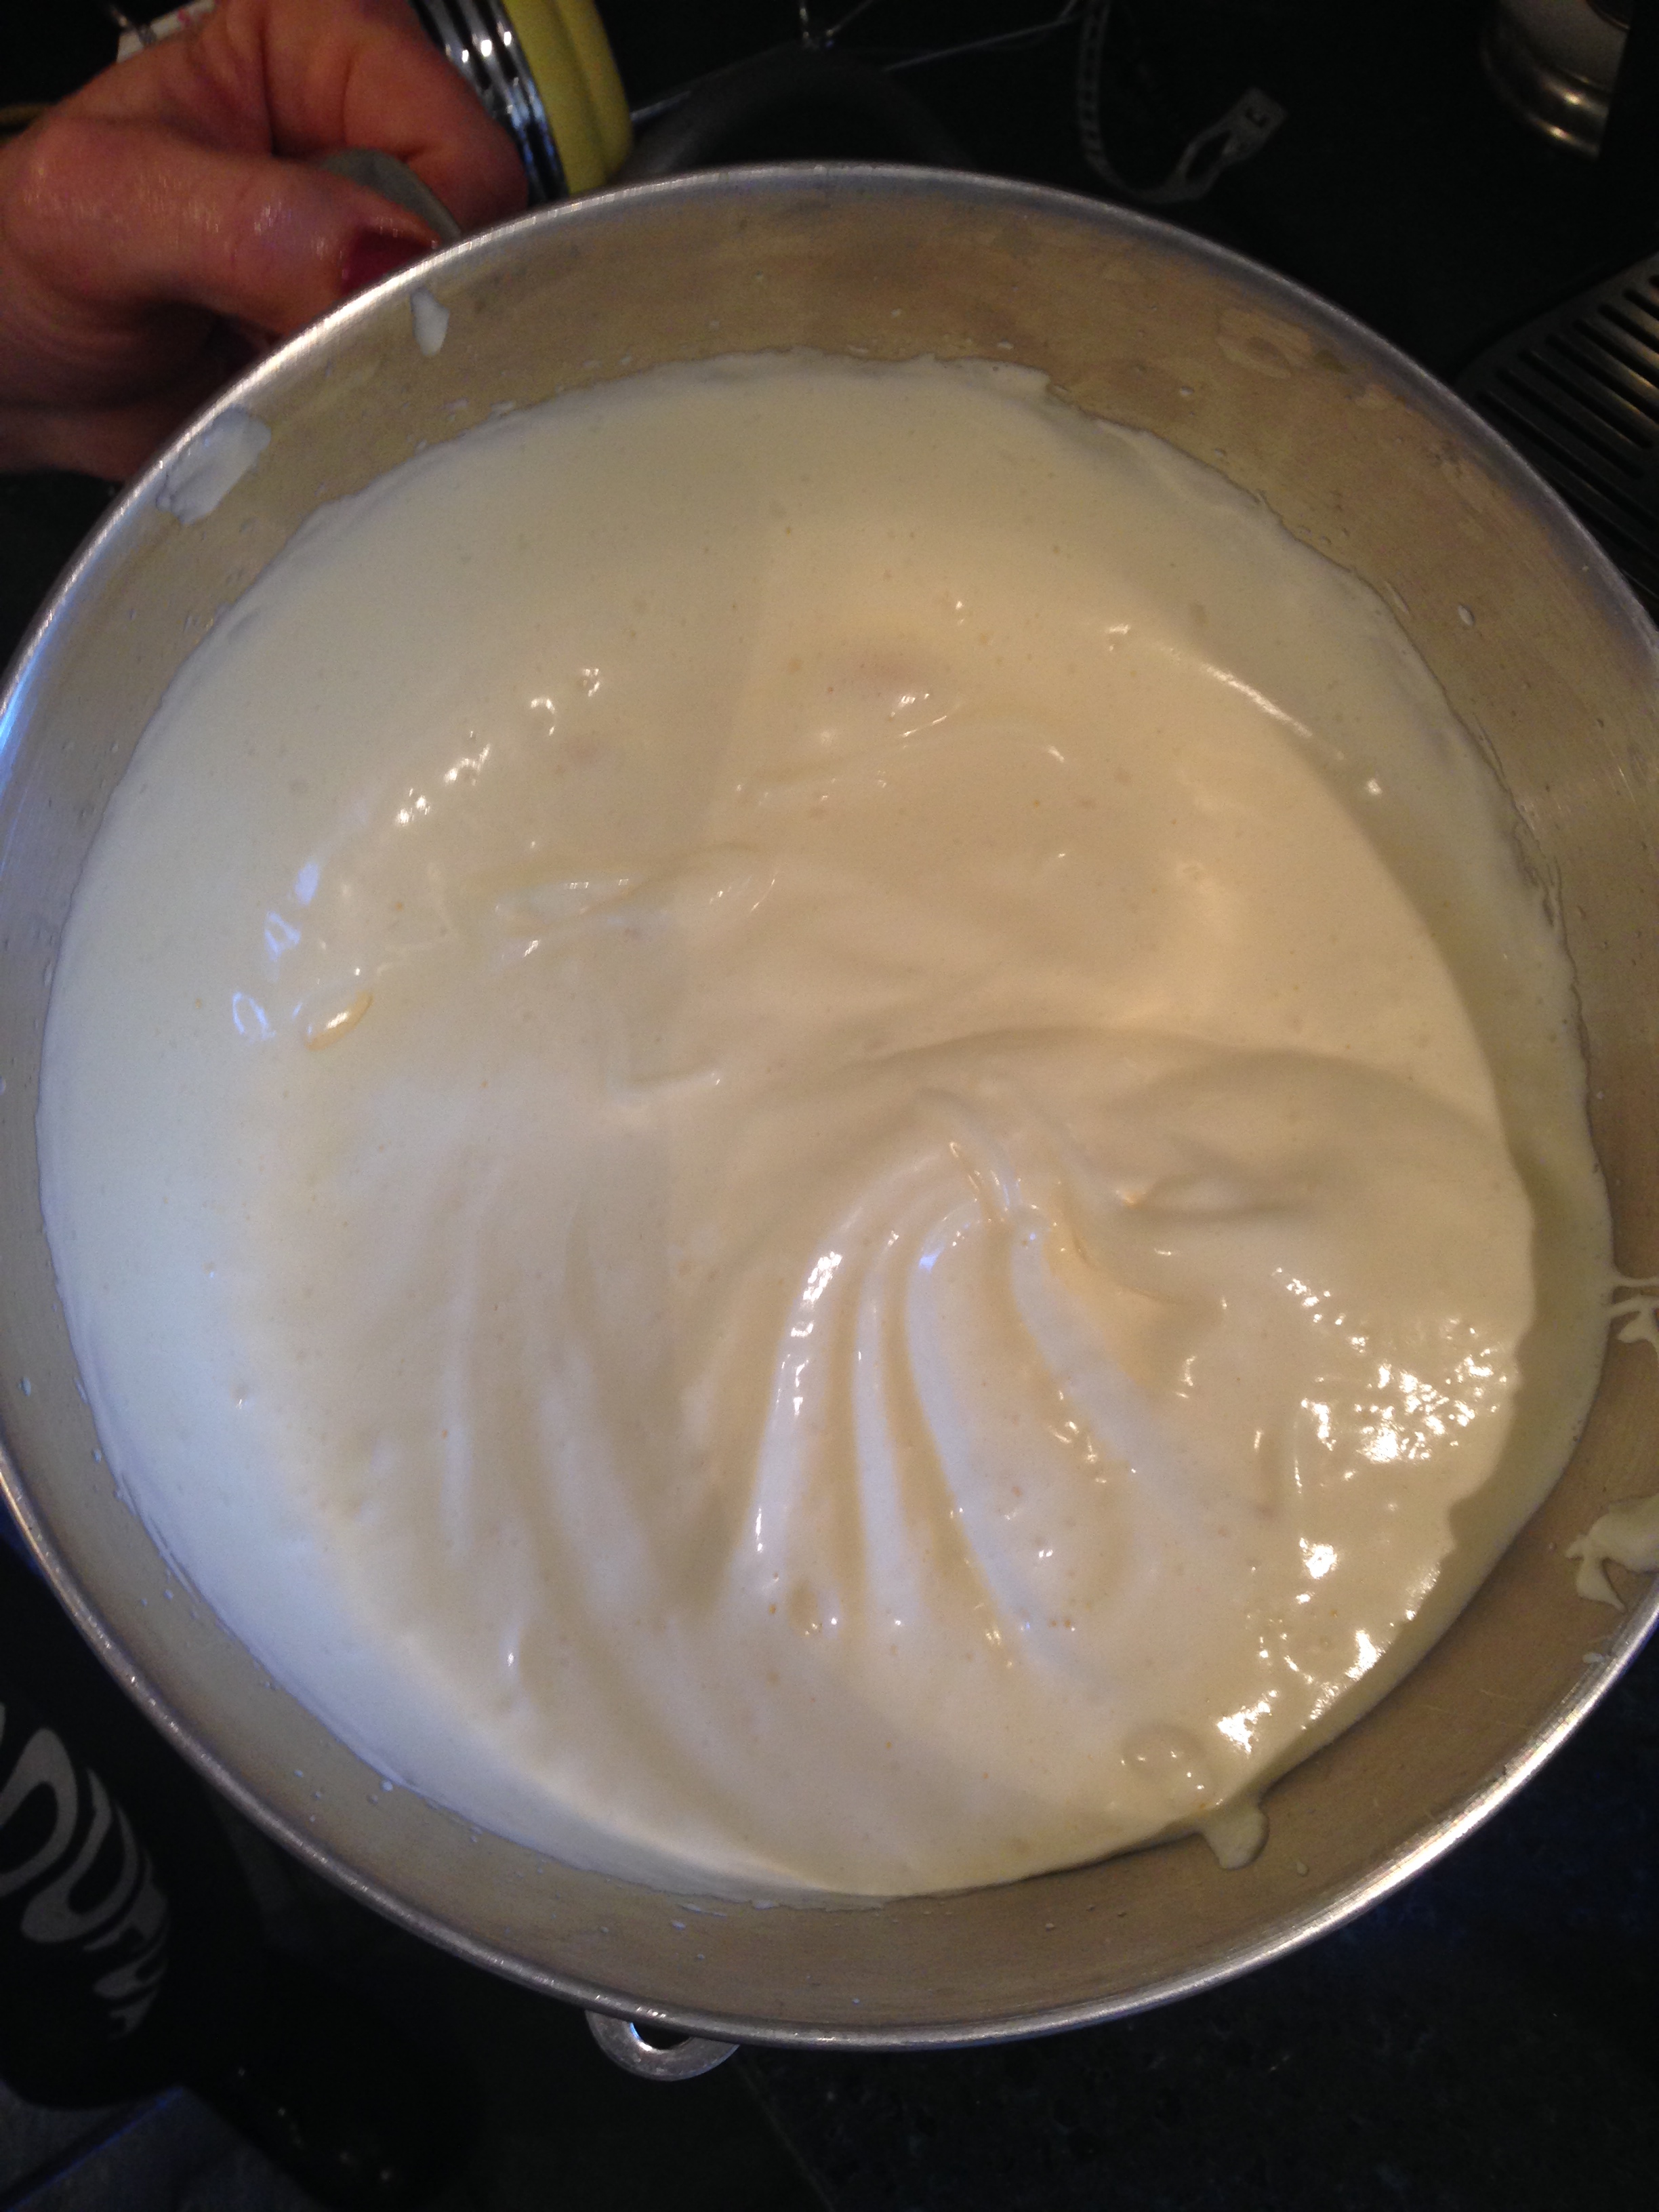
1) Fried Cheese Curds ($10): Since moving to Chicago, I’ve eaten a lot of cheese curds (their really popular out here). Honestly, they are all the same. They are usually pre-frozen and served with some standard bottled sauce that you buy at the grocery store. Well, the cheese curds at the Public House are simply (and deliciously) different.

These hand breaded curds are fried (almost like tempura) and served with not one, but TWO amazing sauces. The first is a cool parmesan peppercorn with a hint of truffle (insane) and the second is a warm tomato sauce. If you have an out of town guest visit and they ask about cheese curds, don’t even hesitate in bringing them there to try them. They are by far the best I’ve had in the city.

Fried Cheese Curds at Public House

Fried Cheese Curds at Public House

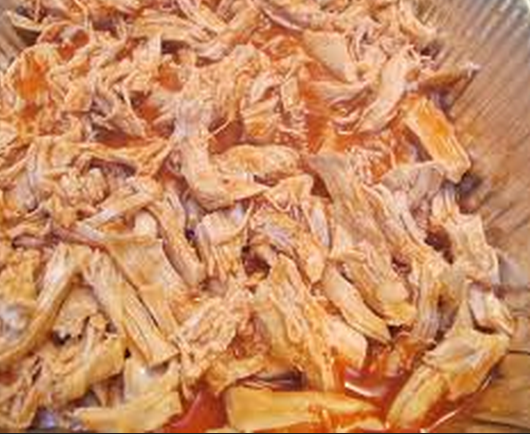
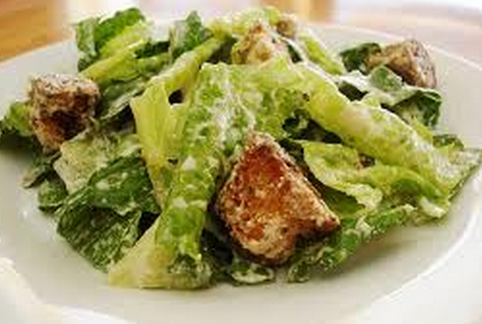
2) Pulled Chicken Salad ($14): Who knew you could eat healthy (and have it taste good) at a gastropub? This salad has everything you could ever want in it! It’s a delicious combination of roasted chicken, mixed greens, apples, walnuts, dates, shaved fennel, avocado, goat cheese and corn bread croutons. The salad is served with a honey-cilantro dressing. Since the thought of cilantro makes me cringe, I opted for the balsamic (which worked perfectly).

What surprised me the most about this salad were those delicious cornbread croutons. Since cornbread is so crumbly, I can’t imagine it’s simple to make these. Somehow, Public House did it and they did it well! Oh, and insider tip, the salads are huge! If you want to split it, just let your server know and they will split it up in the back (they did that for me).

Pulled Chicken Salad at Public House

Pulled Chicken Salad at Public House

3) Chicken & Waffles ($14): I’ve heard of this food phenomena before, but never actually tried it because it’s one of the worst things for you. If you’re going to venture out and eat this dish, it should at least be worth the calories, right?

At Public House, it’s totally worth it. The waffle isn’t traditional. It’s sort a sugar waffle and a little more dense than what I am used to (I actually liked it better). Bad news, it’s only available during their brunch on Saturday and Sunday from 10 a.m. – 3 p.m. I guess you’ll just have to head over for brunch!

Chicken & Waffles at Public House

Chicken & Waffles at Public House

Bottom line, this place is SO cool. You can even reserve one of their booths that have the beer taps built right into the table. Once you book, they table pre-filled with 2 beers and one hard alcohol. The best part? You only pay for what you drink (you pay by the ounce). No crazy table or bottle service fees here!

Taps at the tables at Public House

Taps at the tables at Public House

Oh, and while I was there, I ran into my friend (and Top Chef alum) Fabio Viviani. If he’s hanging there, you know the place has to be good! So do yourself a favor, the next time you want to plan a fun time out for your guy and some friends, call and book a booth at Public House. You’ll look like a hero and eat like a queen.

Love always,
Erica

Public House is located at 400 N State Street, Chicago, IL

A Weight-Loss Secret Revealed!

womenshealthmagazine.com

womenshealthmagazine.com

I’ll be honest, I am not a nutrition or a fitness expert.

I am, however, really good at keeping off those few extra holiday pounds (you know, the ones that inevitably find their way to your hips and thighs) and maintaing a constant healthy weight. I used to always find my weight uncontrollable. Like one minute I was feeling great and 3 days later I was bloated and 8 lb. heavier.  Over the past 3 or so years, I’ve tried every fad diet on the planet. Whether it’s the Master Cleanse, the South Beach Diet or radically cutting out all carbohydrates, you name it, I’ve done it.

I will tell you right now, diets do not work. Whatever you do, stop with the interval dieting. It’s not good for you and in the long run, it slows down your metabolism and makes weight-loss even harder. You need to change your lifestyle and one of those lifestyle changes needs to be to incorporate a lot of protein into your diet.

Every time I start eating a diet with foods containing a high level of protein, I seem to lose weight, have amazing energy and look better than ever. Surprisingly, you actually need more protein than you think. Research suggests you should actually be eating HALF your body weight in grams of protein every single day. That means if you weight 120 lb., you should be eating 60 grams of protein.

To put things into prospective, I wanted to provide a list of 10, high protein foods that can help you increase the amount you are eating every day.

1) Eggs: 6 grams per

2) Cottage Cheese: 13 grams per half a cup. I like to mix cottage cheese with a little whole wheat pasta. Sounds weird, but it’s amazing.

3) Quinoa: 8 grams per one cup cooked. Check out this protein packed recipe.

4) Greek Yogurt: 15 grams per 6 oz container

5) Peanut Butter: 4 grams per tablespoon

6) Beef Jerky: 10 grams per ounce

7) Chicken breast: 30 grams per 3.5 oz serving

8) Cheese: 6-10 grams per oz depending on type

9) Tofu: 20 grams of protein for a half a cup

10) Tuna: 40 grams for a 6oz can

In order to eat half your body weight in grams of protein, you need to start early! This means a protein packed breakfast.

Here is an example of a good protein meal day for most women:

Start the day off 2 scrambled eggs (12 grams) with cheese (10 grams). For lunch, have a salad with chicken breast (30 grams) and for dinner, some quinoa (8 grams) stir-fry with tofu (20 grams) and lots of fresh veggies. That’s about 80 grams right there!

Simply put, kicking up your protein intake isn’t actually too difficult. If you can do that and reduce the amount of sugar and carbohydrates you eat (and do moderate exercise), you will drastically change your body and energy levels. Also, don’t freak out or feel bad if you eat something bad! I think that is the main reason why people can’t lose weight. They think “oh I just ate a cookie, my whole diet is bad now so I will just eat 3 more”. One cookie is okay! It’s all about moderation.

Maybe this really isn’t a secret to some of you, but for those of you out there who are looking to try something different, I figured I’d share my experience.

Have any of you had a good experience introducing a high level of protein into your diet?

Love always,
Erica

Restaurant Review: Sushi Taiyo

With all the amazing sushi options in Chicago, it’s helpful to have a little help navigating, right?

A few weeks ago, one of my friends, Rikki, came to me and said that I had to check out this adorable sushi restaurant in the heart of the Gold Coast. She said this place has been her little secret and she had been eating there at least once a week since she moved to Chicago 3-years ago. With that kind of glowing recommendation (and given that my friend is a successful restaurant investor in New York), I knew I had to give it a try.

When I walked into Sushi Taiyo on the corner of Ontario and Rush Street, I was taken aback by it’s simplicity and charm. With all these huge, trendy, asian restaurants popping up all over Chicago, the  unassuming ambience at Sushi Taiyo was actually pretty refreshing.

While the ambience is simple, the food is not. What’s also amazing about this place? It’s affordable! Our entire meal came to just $20 each.

I’ve since gone back a couple of times and I am excited to share the 5 dishes you MUST order when you go.

1) Seared Chicken Gyoza ($8): I tend to order gyoza almost anywhere I go, but these surely exceeded my standards. Every time I took a bite, the flavor exploded from the dumpling. These are absolutely delicious and shouldn’t be missed.

Seared Chicken Gyoza at Sushi Taiyo

Seared Chicken Gyoza

2) Yakitori ($8): You can get these delicious skewers in chicken, beef or shrimp. They come served over an open flame (such a wow-factor) and taste delicious! I ordered the chicken and the meat just fell off the stick. The dish is served with a delicious dipping sauce (although the meat was so flavorful, I hardly needed it).

Yakitori at Sushi Taiyo

Yakitori

3) Honey Roll ($11): This rolls name really does describe it. It’s a unique combination of raw albacore, cucumber, and a sesame honey sauce that will blow your mind. And if that not enough, they roll the entire thing in tempura crumbs. This may be one of my favorite rolls ever.

4) Tochigi Maki ($12): A spicy tuna roll wrapped in slices of mango and avocado with a sweet and spicy sauce. Have I said enough? This roll was surprisingly clean tasting and totally left me wanting to order more (in fact, we ordered a second one because we found ourselves fighting over the last piece).

Tochigi Maki on the top and Honey Roll on the bottom

Tochigi Maki on the top and Honey Roll on the bottom

5) Banana Egg-Roll: YUM! I won’t lie, this is nothing more than a banana wrapped in an egg-roll wrapper and fried, but honestly, how can you go wrong? It’s topped with delicious chocolate and caramel sauce and served with ice cream and fresh fruit. Finish off your meal with this and you won’t be disappointed (but share it with a friend or two or you will be disappointed when you look at the scale the next day).

Banana Eggroll at Sushi Taiyo

Banana Eggroll

Are you drooling yet? Thank god this place has delivery, because after reminiscing about this meal, I think I know what I am having for dinner tonight…

Love always,
Erica

Homemade Chili Balsamic BBQ Sauce

Photo Credit: easyeverydayeats

Photo Credit: easyeverydayeats

Like I’ve said before, I love sauces! Since I love cooking even more, it’s only natural that I would try to come up with my own delicious combinations, right?

Well I am excited to share one of my favorite homemade BBQ sauces. It’s a tangy and sweet balsamic bbq. I can’t take complete credit for this recipe since the inspiration came from Food Network a few years back. Of course, I’ve changed a few things and made it my own (and I think a little bit better).

What You’ll Need
3/4  cup balsamic vinegar
3/4 cup ketchup
1/3 cup brown sugar
1 garlic clove, minced
1 tablespoon worcestershire sauce
1 tablespoon dijon mustard
1/2 teaspoon chili powder
salt and pepper

What You’ll Do

1) Combine all the ingredients in a saucepan and whisk until all the ingredients are combined and the mixture is totally smooth.

2) Simmer over medium heat for about 20 minutes. The sauce should reduce by about 1/3 and the flavor will be totally concentrated and delicious.

Pretty simple and it only takes about 20 minutes! You can store this stuff in an air tight container for a couple weeks. Also, it’s much healthier than store bought bbq sauce because you don’t have nearly as many preservatives and weird additives!

Love always,
Erica

Truffled Whipped Potatoes Stuffed Tomatoes

Potato stuffed tomato

Photo Credit: Grandparents.com

Over the holidays, I spent some time in Boston with my boyfriends family. For a big dinner, I was asked to make the side dish. The stakes were high this year since I started my blog and most people were expecting something pretty interesting. I knew I wanted to make something that wasn’t just delicious, but aesthetically pleasing as well.

I decided to try out a new recipe that has been brewing in my head for a little while. I wanted to take my famous truffled mashed potatoes and stuff them inside of a tomato. In my head, this recipe sounded great. In actuality this dish was “total perfection” (a quote from our dinner)!

This recipe will make about 16 tomatoes. Feel free to adjust to make less if you’re just make this dish for just a couple of people.

What You’ll Need
3-4 lbs of your favorite potatoes, peeled and quartered
1.5 cups of half and half or cream
6 tablespoons butter
1/2 tablespoon of black truffle salt (more or less depending on how strong you like it)
16 large round tomatoes

What You’ll Do
1) Make your mashed potatoes! Start with cold water and your peeled/quartered potatoes. Bring it to a boil, reduce heat to medium and cook for about 20 minutes (until potatoes are tender).

2) While the potatoes are cooking, cut the tops of your tomatoes and remove them. Take a small knife and cut around the inside edges and remove the inner core/seeds from the tomato with a spoon. Make sure to leave the walls of the tomato intact.

My hollowed out tomatoes!

My hollowed out tomatoes!

3) Once potatoes are done, drain them and add the half and half, butter and truffle salt. Mash together until smooth. For this recipe, I like to actually put it all in the blender on super low to get a really smooth, whipped texture (but you can totally do it by hand too).

4) Place the whipped potatoes into a pastry bag (or a big zip lock bag like I do). Then, pipe the potatoes into the hollowed tomatoes.

Me and my big sweater piping the potatoes into the tomatoes.

Me and my big sweater piping the potatoes into the tomatoes.

5) Bake in a 350 degree oven for about 10 minutes until the tomatoes soften and the top gets nice and brown. Yum! 🙂

Love always,
Erica

The EASIEST Homemade Gorgonzola Sauce

IMG_1881

Simply put, I’m a sauce addict.

I love sauce on everything. Despite my complete obsession, knowing all the preservatives you get in store-bought sauces makes me shiver a little. That’s why I’ve set out to create my own delicious sauces. The first one is this super simple creamy gorgonzola sauce that pairs perfectly with steak. You can also use this baby on top of macaroni for a twist on macaroni and cheese. 

I always thought you needed to make a roux (cooked flour and butter) to make sauce thick, but this recipe defies everything you would ever think you need to do to make a creamy, thick and delicious sauce. Basically, all you do is boil heavy cream on medium low for an hour.

I’m sure there is science behind why this works, but I like to think it’s magic…

What You’ll Need
4 cups heavy cream
4 ounces gorgonzola cheese (not creamy or dolce)
3 tablespoons fresh grated parmesan cheese
1/2 teaspoon kosher salt
3/4 teaspoon pepper
3 tablespoons fresh minced parsley

What You’ll Do

1) Bring heavy cream to a rapid boil in  a medium sauce pan. Reduce heat slightly and let boil for the next hour stirring every few minutes (until thick and coats the back of a spoon). Make sure to keep an eye on this because it can boil over pretty easily.

2) Remove the pan from the heat. Add the gorgonzola, parmesan cheese, parsley, salt & pepper. Rapidly whisk the ingredients until cheese is melted and ingredients are combined.

So simple, right? This sauce is unreal! While it might not be the most low fat option, it is super low carb and a little goes a very long way! Who knew eating low carb could taste this good? 🙂

Love always,
Erica

8 Things to be More Patient About in 2014

Be-patient1
Let’s face it. We live in a fast paced society where the mentality is always to rush everything. With 2014 approaching, I encourage everyone to stop for a minute, take a deep breath, and read through this list of things you should be a little bit more patient about next year (trust me!):

1) Losing Weight: There is NO healthy way to lose weight fast. Losing weight and changing your body takes time and a shift in lifestyle. Don’t give up if you don’t see results from healthy eating and exercise right away. Losing weight the healthy way may take longer, but will last longer than crash dieting or crazy exercise regimens. Never compromise giving your body what it needs to shed a few extra pounds!

2) Under the skin pimples: I know I am not the only one that gets excited the minute I think I am able to extract one of these pesky pimples. However in my 25 years of unfortunate breakouts (that you can’t see but make you want to cut your face off), I have learned to LEAVE IT ALONE.  Just continue to wash your face and put a treatment on it with salicylic acid. You will really thank me and not have a swollen golf ball on your face.

3) Growing out your eyebrows: Whether you are a man or a woman eyebrows are so important on a person’s face. I know that most of you, like me, have one of those mirrors that zoom in 1000 percent on your face. This has resulted so many times in over plucking your eyebrows and making them look so thin! Give your eyebrows some time to grow out fully, you can get those unsightly stragglers, but don’t touch the actual shape. Leave that to the professionals every 2-3 weeks.

5) Driving: I have spent way too many years rushing to get places while driving. More recently, I have really tried to be more patient when driving. I know we all have places to go but getting a ticket or getting into an accident is not the better alternative. Next time you’re rushed take a deep breath, put on your favorite Jay-Z song, and just cruise.

7) Heating up Food: Whether you are getting amazing take out or have leftovers from one of Erica’s amazing recipes never rush when reheating food. I know this one seems silly, but it makes a huge difference and is an important tip I learned from my bestfriend. I understand heating up food in the microwave is so easy, however, if you take that extra few minutes to heat something in the oven or on the stove, I promise your food will taste 100% better. Microwaves make your food squishy and soggy which are two words I never want something I am eating to be described as.

8) Achieving your goals: I know we live in a world where all you see on reality t.v. and in social media are people your age spending millions of dollars without blinking an eye. Unfortunately, for most of us, we won’t be buying ourselves our own private jet, Rolls Royce, and Hermes Birkin bag all for our next birthday. That doesn’t mean you will never be there! Remember the sky is the limit and hard work pays off in the end! Don’t get discourage if something doesn’t work out, always keep reaching for your goals and in a few years you can be exactly where you want to be.

I hope next time any of these things come up in your daily life, pause for a moment and remember, “Patience is bitter, but its fruit is sweet.” – Aristotle

Xo,
Melissa

Chocolate Lava Cake

Photo: Yvonne Duivenvoorden

Photo Credit: Yvonne Duivenvoorden

One of my least favorite things to do in the kitchen is bake. There is something about exact measurements and all the technical baking terms that kind of freak me out. That being said, many of you have written in and asked many baking questions, so I’ve made it my mission to learn!

My first conquest was the infamous chocolate lava cake! This is one of my favorite deserts and since I’m always trying to find the best one in town, I figured making it myself would be a cool idea. I tested out this recipe with Dan’s mom this Christmas and it was a total crowd pleaser (not to mention pretty easy to make).

What You’ll Need
6 ounces semisweet chocolate, chopped
1 and 1/2 sticks of butter (plus extra few tablespoons for buttering soufflè dishes)
3 large eggs
3 large egg yolks
6 table spoons of sugar
1/8 teaspoon of salt
6 tablespoons of all purpose flour

What You’ll Do
1) Preheat oven to 350 degrees. In a medium sauce pan, melt the butter and chocolate over low heat until smooth. Turn heat off and let cool completely.

Smooth chocolate and butter mixture

Smooth chocolate and butter mixture

2) While cooling, liberally butter your soufflè dishes. This is important so the cake does not stick!

Buttered Soufflè dishes

Buttered Soufflè dishes

3) Use an electric mixer on high to beat the eggs, egg yolks, sugar and salt. Do this for about 5 minutes or until stiff and pale yellow.

Mixture once you beat it

Egg Mixture once you Beat it

4) Gently fold your cooled chocolate mixture in with the egg mixture until well incorporated. Be careful not to break all the air you created. If you don’t know how to fold, make sure you watch this.

Fold the egg and the chocolate together

Fold the egg and the chocolate together

5) Once the chocolate is folded in, sift the flour over the mixture and gently fold that in as well (sifting is just putting your flour through a fine mesh strainer).

Chocolate mixture with sifted flour on top

Chocolate/egg mixture with sifted flour on top.

6) Transfer batter to the buttered ramekins or soufflè dishes and place on a baking sheet. Bake for 16 minutes.

Lava Cakes on Baking Sheet

Lava Cakes on Baking Sheet

This recipe will yield about 6. The first time I made these, I doubled it for 12 and it came out perfect. These are best served warm with a dollop of ice cream!

Let me know how you like them :).

Love always,
Erica