Photo Credit: Pirate Palate
Not only am I’m obsessed with making my own take-out, I love making fun and interesting twists on some of my favorite dishes. One of my most exciting twists is on the classic takeout dish, eggrolls. Did you know you they are super simple to make and you can easily play around with the recipe to come up with all different kinds?
My two favorites kinds of eggrolls are buffalo chicken and a simple asian vegetarian. Today I’m going to talk about the buffalo chicken since I think if ANYTHING is going to motivate you to make your own take-out at home, it’s these delicious, crispy rolls.
What You’ll Need
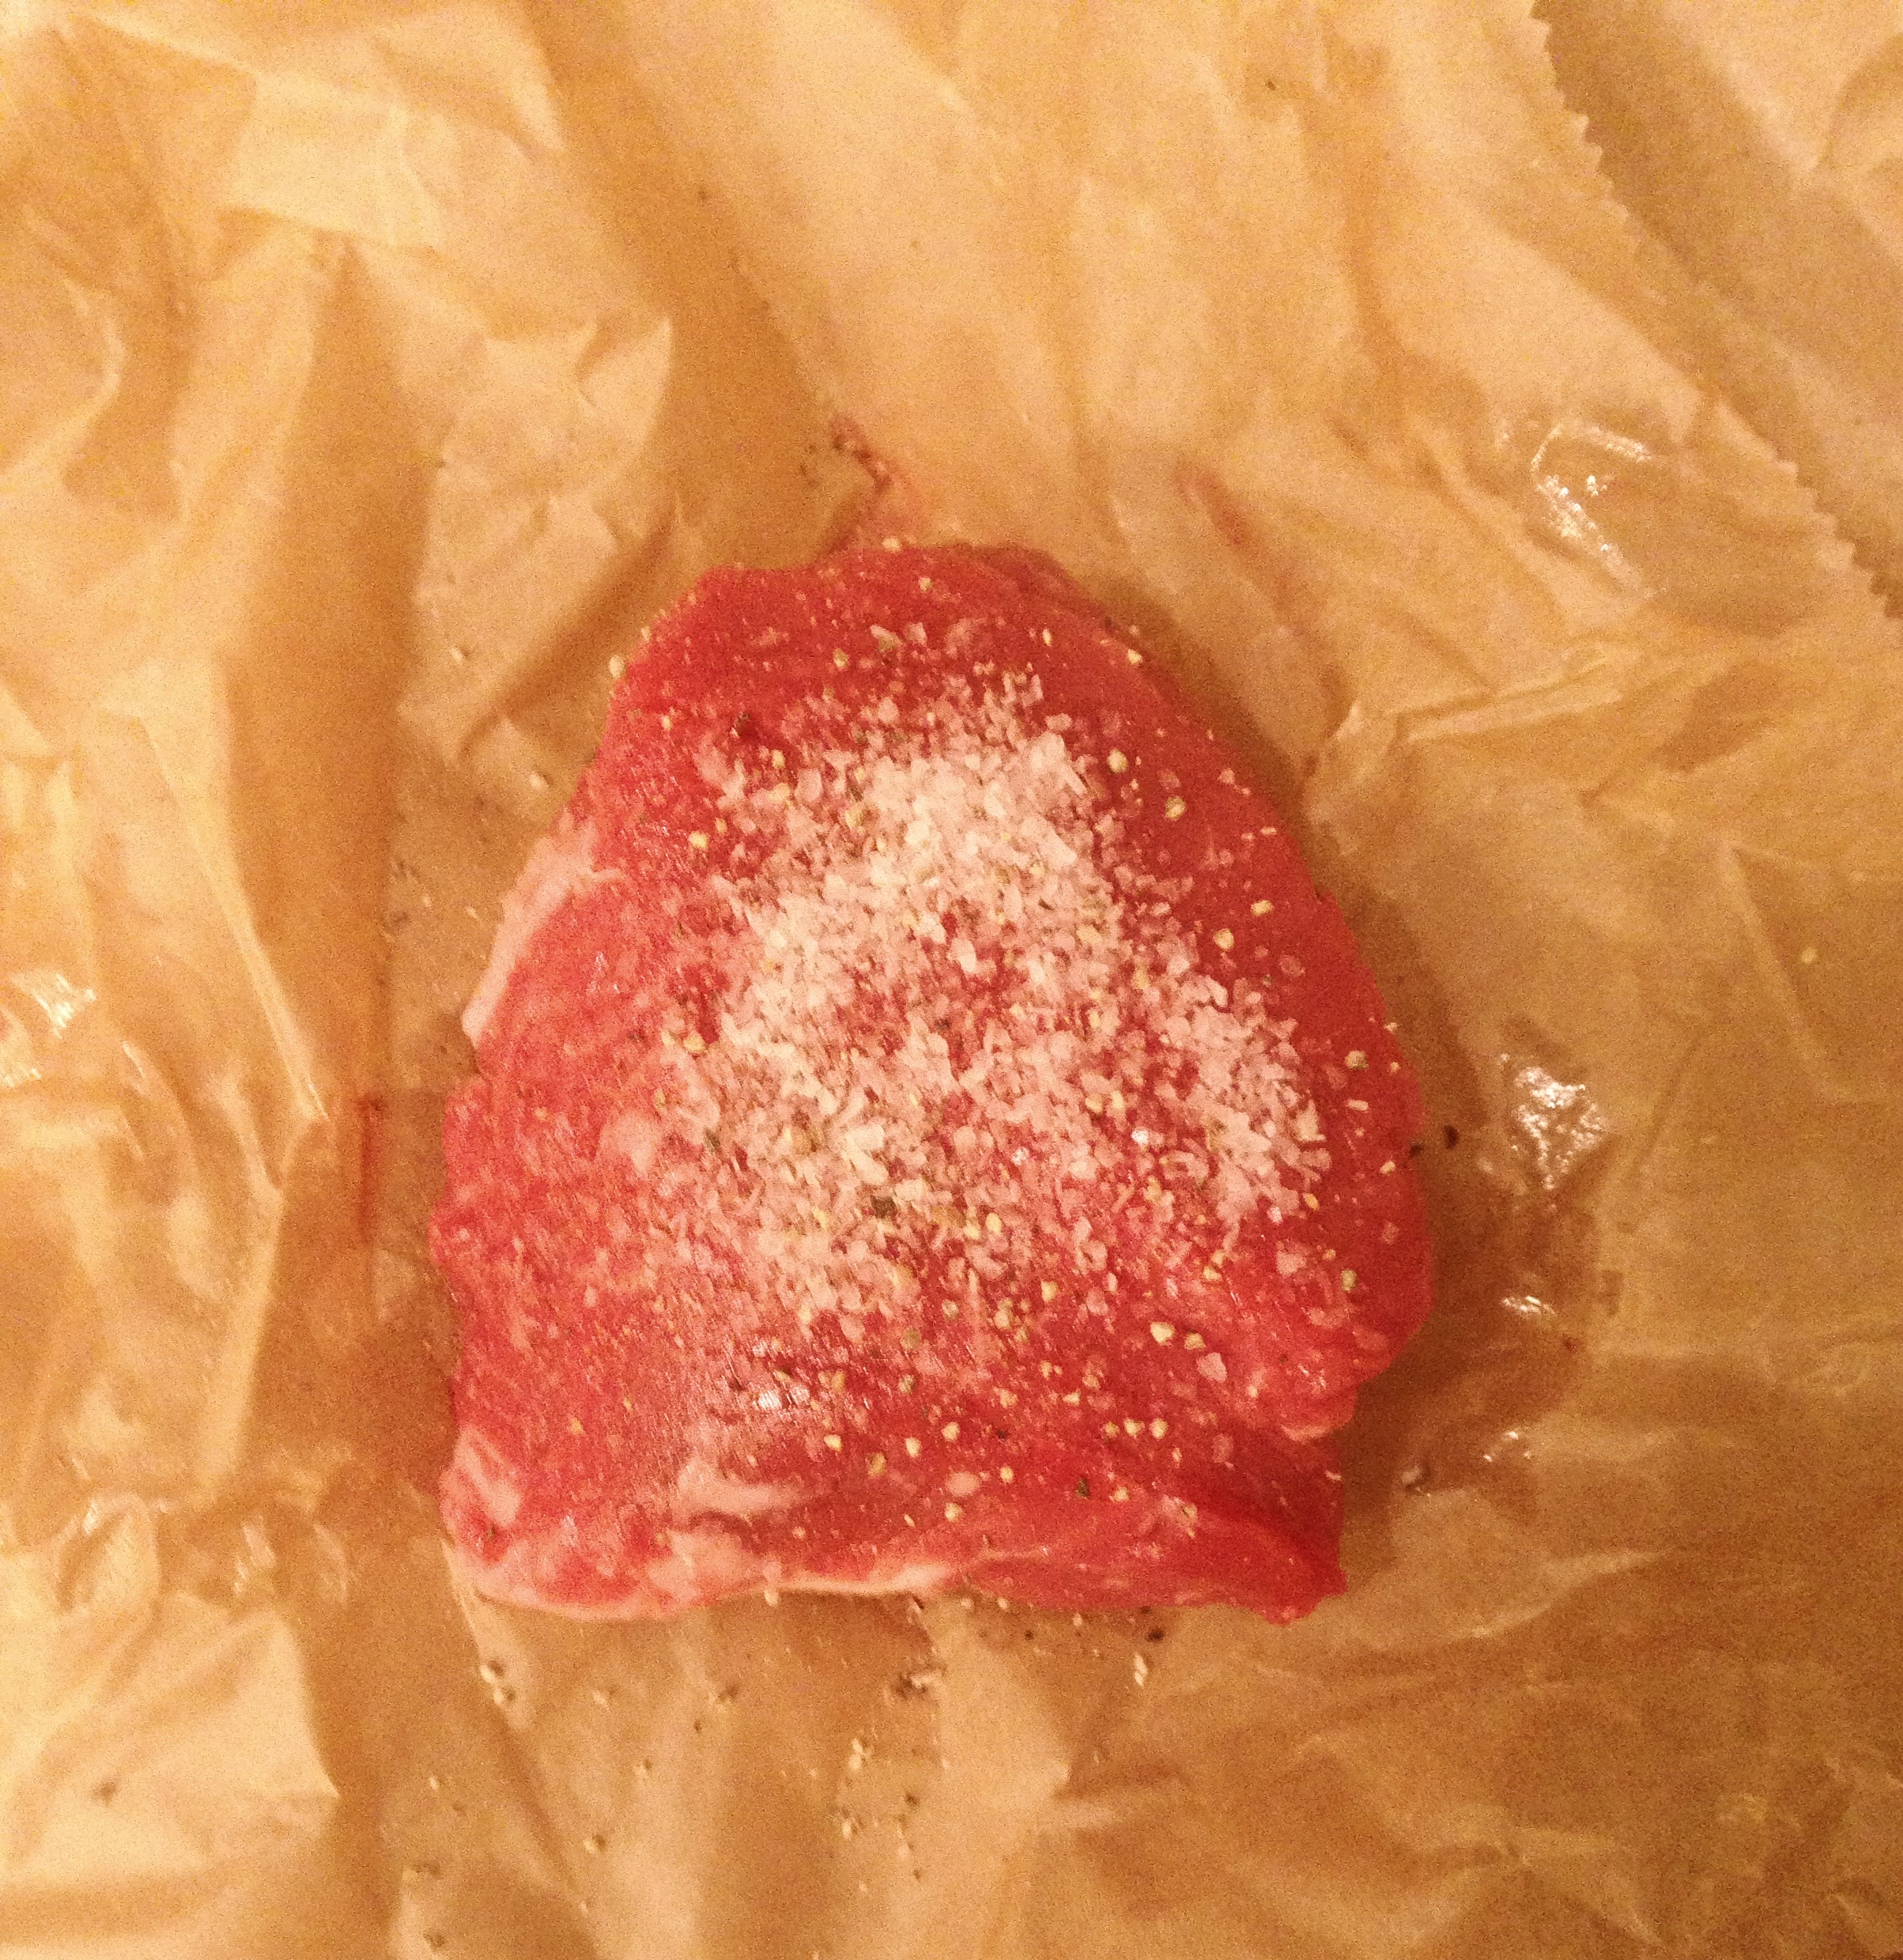
1 1/2 lb boneless skinless chicken breast
1/2 package egg-roll wrappers (give or take)
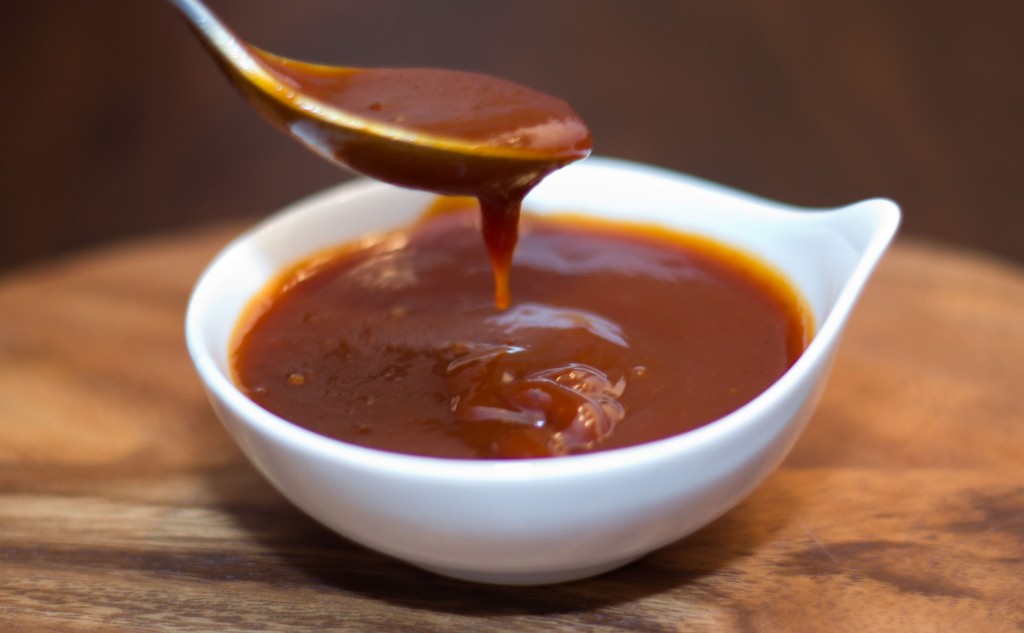
2/3 cup of Franks Red Hot Buffalo Sauce
3/4 cup crumbled blue cheese (I like gorgonzola dolce)
Peanut oil or Vegetable oil for deep frying (if you want to fry it)
What You’ll do
1) Boil the chicken until cooked through and then shred the chicken with a fork

Shredded Chicken
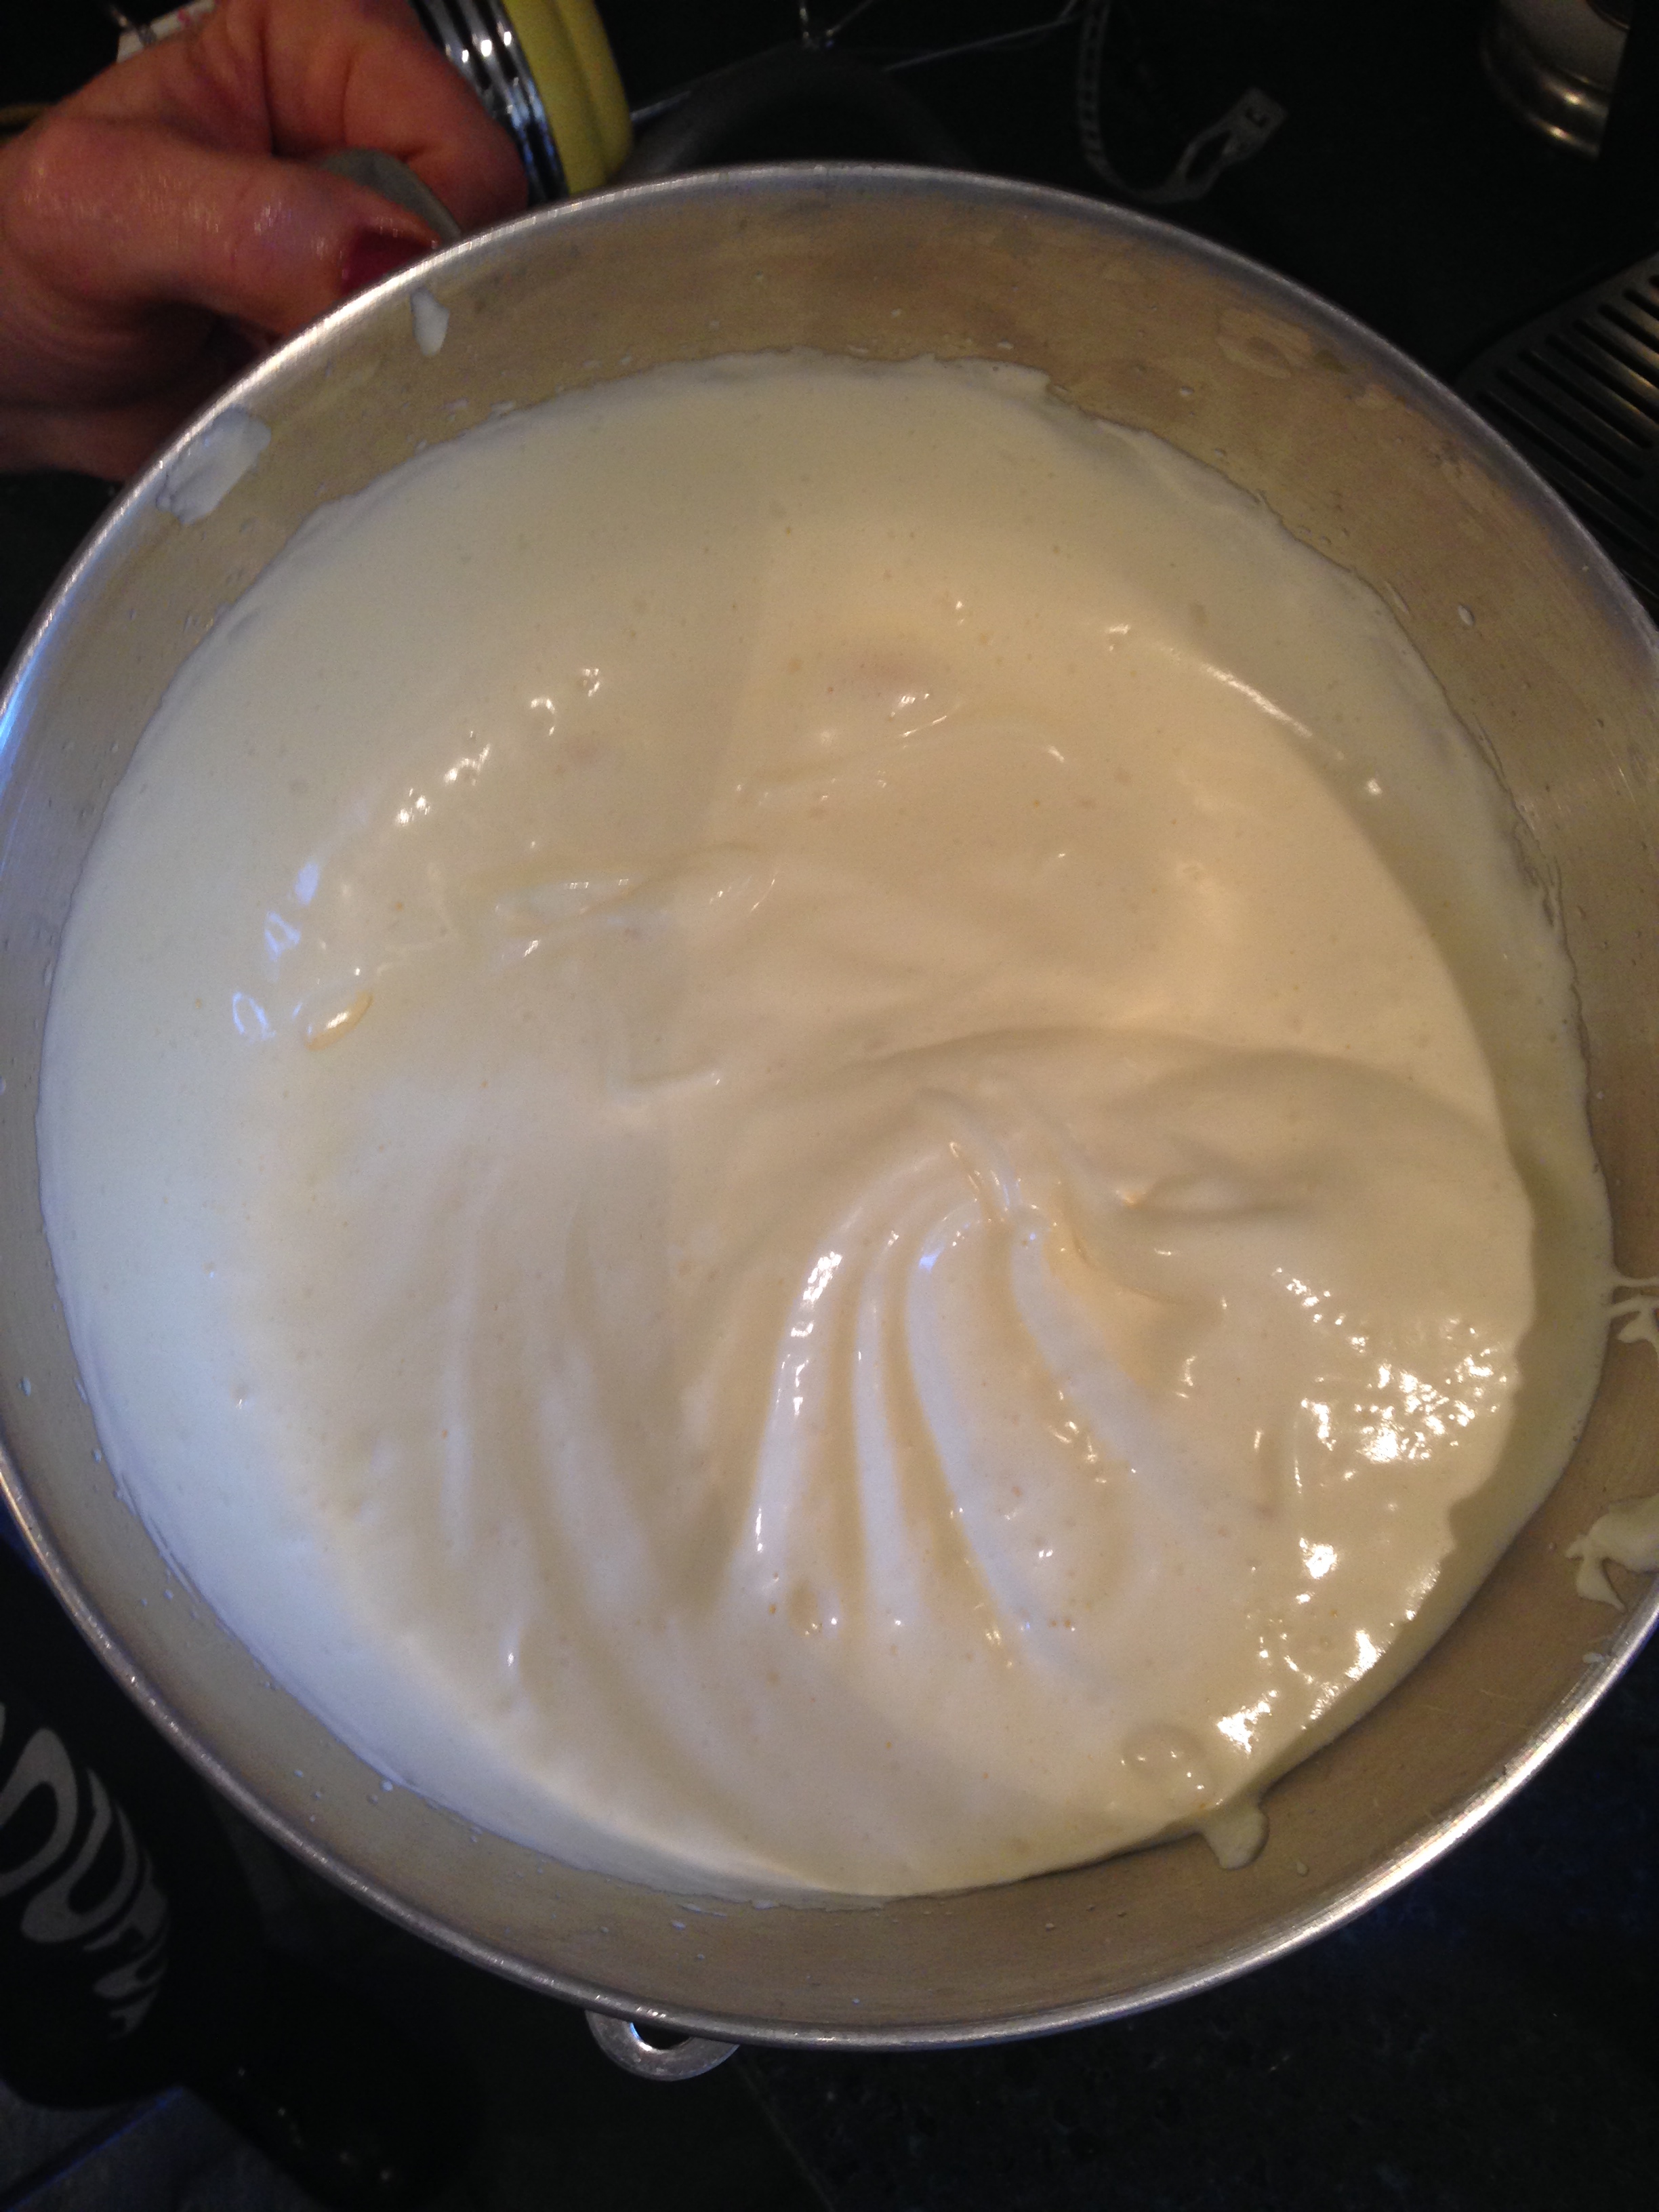
2) Combine chicken with buffalo sauce and blue cheese
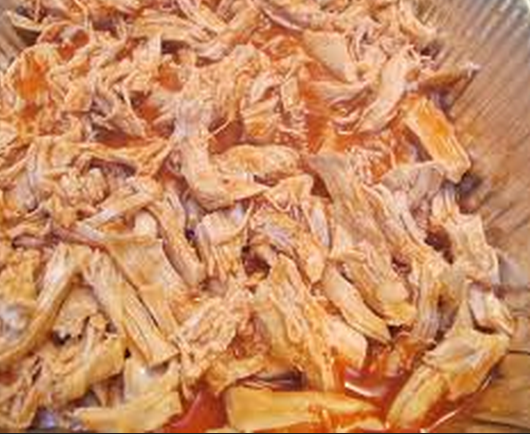
Combine chicken with hot sauce and blue cheese
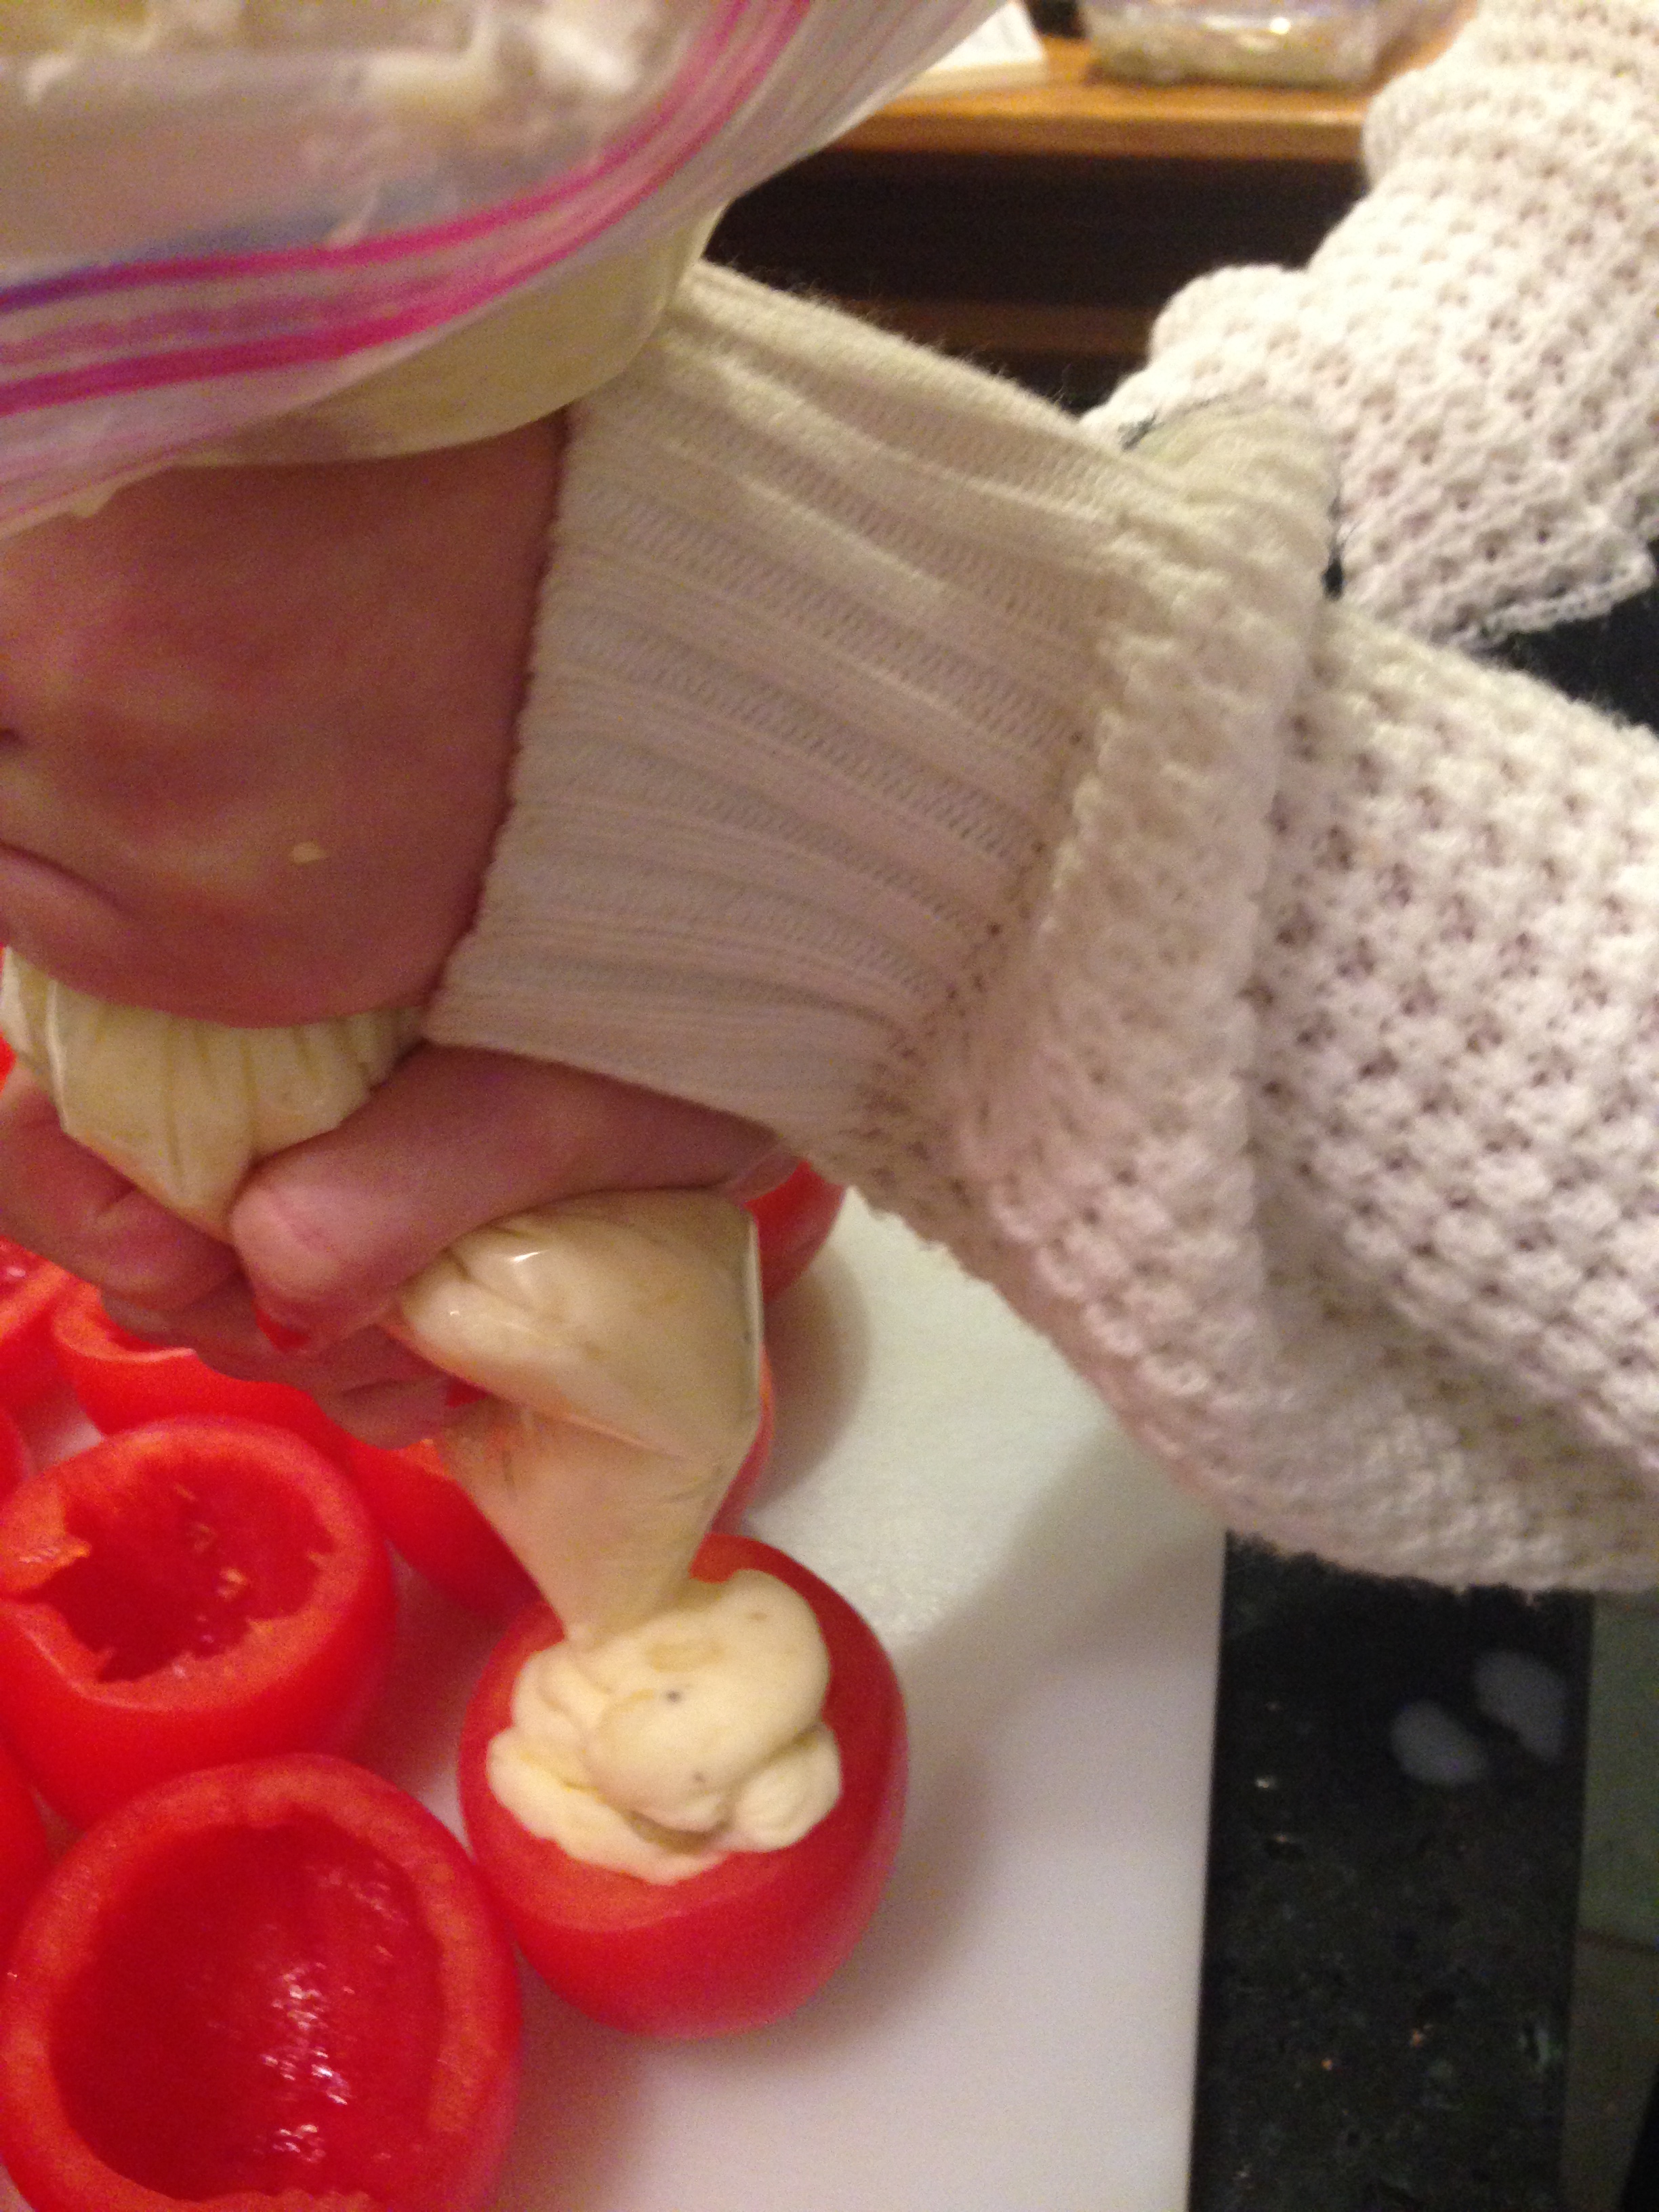
3) Place 1 tablespoon of the filling in the center of the wrapper. Wrap the eggroll! If you want a good tutorial, check this out.

Place Mixture in Center of Wrapper
PC: Cookin’Cowgirl.blogspot.com
4) Cook the eggroll! You have two options here: You can either bake the eggroll’s at 400 degrees for about 15 minutes (the healthier version) or you can deep fry them in a deep pot or dutch oven in 350 degree oil. Only cook a few at a time and be careful! You will know they are done when they are golden on the outside (since they are already cooked on the inside).

Cook the Eggrolls
Let these babies drain on a paper towel (and cool down a bit) and then serve them up with ranch or blue cheese dressing!
Love always,
Erica